Import book entries
 This is a PRO feature (not available in the free version).
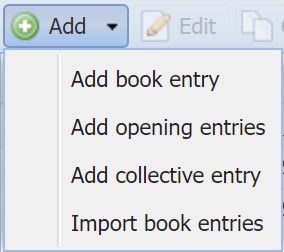
With "Import book entries" via the Add button of the Journal you can upload and import bank statements / transactions from your e-banking.
1. Upload file
Source
Select the file which you would like to upload and import. 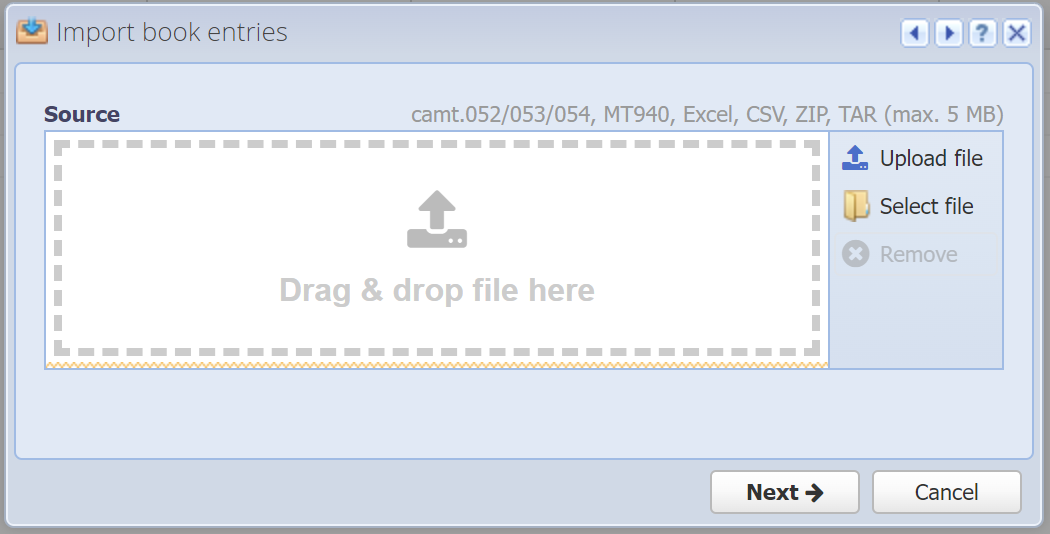
Bank transactions
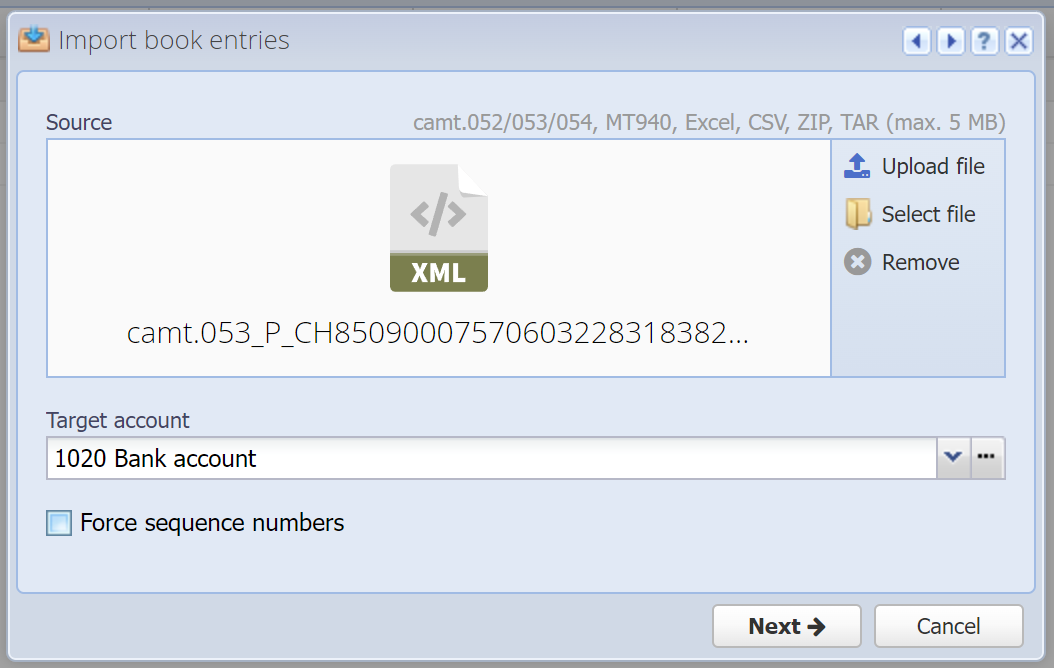
The following files are supported:
camt.052, camt.053, camt.054 (ISO 20022, XML)
MT940 (ISO 15022, TXT)
and these formats also within a ZIP file (or TAR)
You'll find these files in your e-banking as electronic account statements. Depending on the bank it's possible that you have to activate this possibility first, so you might not see those files, yet. Please ask your bank.
Target account
Select the corresponding bank account from your chart of accounts to which the bank transactions belong.
Force sequence numbers
Select whether the imported reference, if applicable, should be overwritten with the sequence number for book entries.
Next
The book entries will not be imported directly. In the next step an import session is opened (as a tab in the Journal) where you first confirm the book entries before they are imported. This session stays open even if you log out. Only when you close the import tab is it that the session will be closed.
Generic book entries
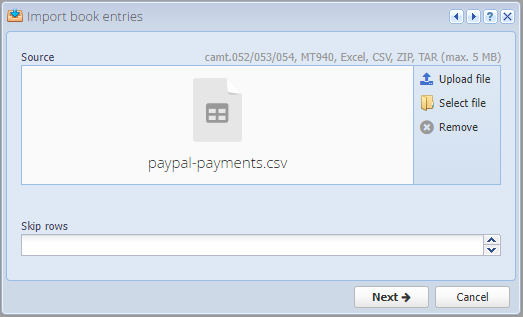
The following files are supported:
CSV and Excel
Only one file can be imported at a time.
Files can be found at their payment service provider (for example, PayPal, Stripe) or as an export in third-party software.
Skip rows
Enter the number of lines to be skipped in the file. This is necessary if the header is not on the first line. This field is optional and can be ignored in most cases.
Next
The book entries will not be imported directly. The next step opens a mapping window where you can assign the uploaded file to the fields in CashCtrl.
2. Confirm book entries
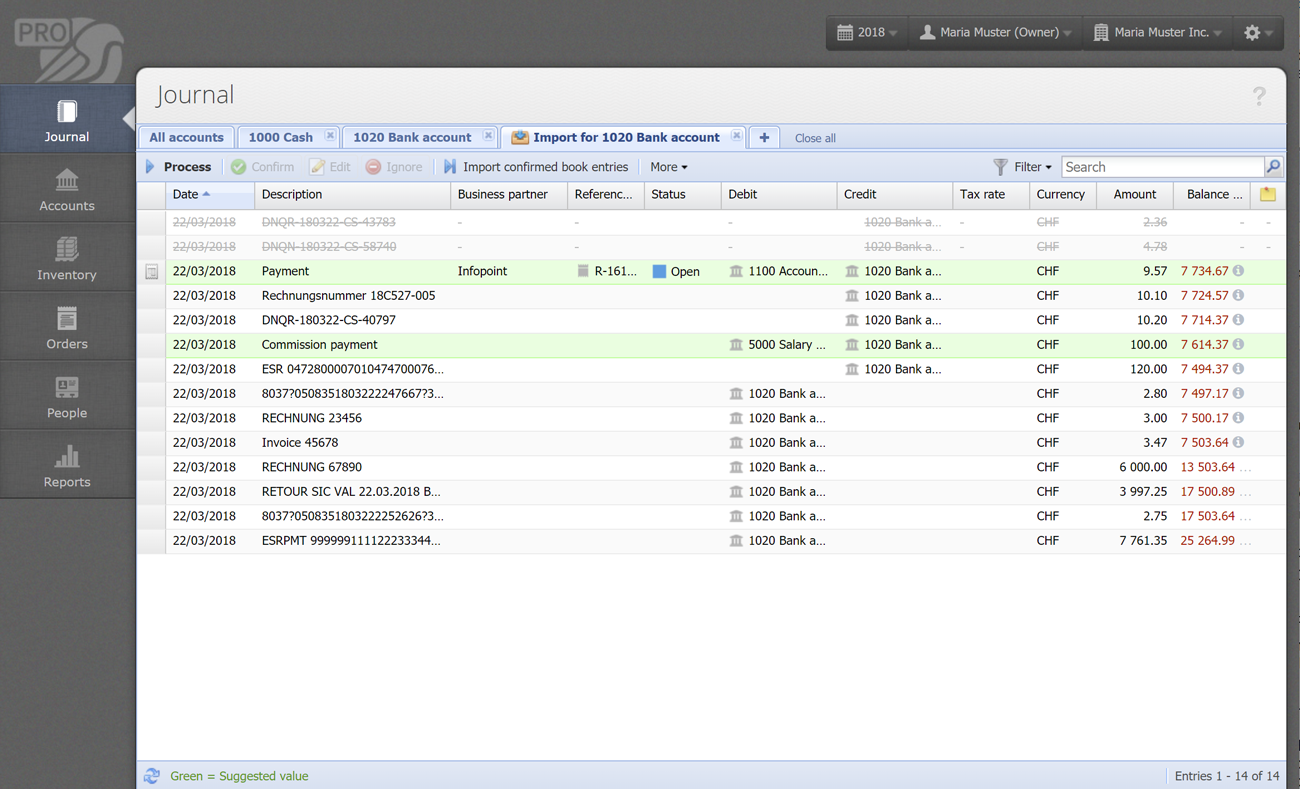
In the second step you can edit and confirm all the book entries which should be imported. The confirmed book entries can then be imported with one click (last step).
Process [more]
You will start here. This button opens the first book entry, and you can then edit and confirm each entry, one by one. It basically does the same as the Edit button, except you don't have to select a book entry first. This button always opens the first book entry that is not yet confirmed and not ignored (those entries are skipped).
Tip: You don't necessarily have to complete the import in one day. You could confirm some of the book entries and then continue the next day, even if you log out of the application. Just click on Process again to continue.
Confirm / Unconfirm
By processing / editing the book entries they will already be confirmed. However, if some of the book entries already look correct in the overview table, you can select them and directly confirm them without having to edit them. These book entries will be marked green (the whole row). You can also unconfirm them later.
Edit [more]
With this button you edit the selected book entry. Upon saving, the book entry is confirmed.
Ignore / Restore
Book entries you don't want to import (e.g. because they have already been created manually in your accounting) can be ignored hereby. The book entry is not deleted but simply displayed grayed out and won't be imported. You can also restore an ignored entry.
Note: If book entries have already been imported in a previous import session, and they appear again, they will automatically be ignored. You can still import them by restoring them - at your own risk.
Color codes
Green field text = Value suggested by CashCtrl (machine learning with every import).
Whole row marked green = Book entry is confirmed.
Whole row grayed out / striked out = Book entry will be ignored (not imported).
Balance red = The balance read from the uploaded file does not match the forecasted balance after the import. Mouse over the balance to find out more.
![]() Split book entry
Split book entry
This icon is displayed in the first column if a book entry was split. See Edit book entry.
3. Import book entries
After you confirmed all book entries you can effectively import them into the Journal by clicking "Import confirmed book entries". Afterwards you can close the tab and thereby complete the import.
Imported book entries are marked in the Journal with a blue dot in the first column. You can also filter by imported entries in the filter menu.
